A small desk, shelf, or craft cart does not have to become a tangle of loose rolls. The best washi tape storage ideas make your collection easy to see, quick to return, and simple to use without taking over the surface where you create. Start by counting your rolls, measuring the space you actually have, and choosing a system that matches how you craft. A display that looks attractive but is awkward to refill will not stay organized for long.
This guide focuses on compact, flexible solutions for rolls used in journaling, cardmaking, scrapbooking, gift wrapping, and everyday paper projects. You can adapt the same approach whether you own a few favorite designs or a growing group of themed tapes.
Start with a collection audit and a storage zone
Before buying a container, gather every roll from drawers, pencil cases, project boxes, and the corner of your desk. Put them in one place and sort them in a way that supports real decisions. Useful groups include color, theme, width, frequency of use, or project type. For example, keep everyday neutrals together, seasonal designs in a separate group, and tapes reserved for cards near your card supplies.
Measure three things: the width and depth of the available shelf or drawer, the height of the tallest container you could use, and the amount of clearance needed to remove a roll. A narrow shelf may suit a single row of upright rolls, while a shallow drawer may work better with rolls lying flat. Leave a little breathing room rather than filling every inch; an overpacked box turns a simple choice into a search.
Create one “active” zone for the tapes you use this month and one “archive” zone for occasional designs. The active zone could be a small tray beside your journal. The archive could be a lidded box on a higher shelf. This two-level system prevents a large collection from crowding the work area while keeping current favorites within reach.
A helpful test is the ten-second rule: can you find and return a particular roll in about ten seconds? If not, change the grouping or reduce the number in the active zone. For a small collection, one open container may be enough. For a larger one, divide by a clear rule instead of creating several confusing categories.
Use compact containers that make every roll visible
Drawer dividers for a clean, low-profile setup
A shallow drawer with adjustable dividers is one of the most practical options when you want a calm-looking desk. Place rolls on their sides in short rows, with the tape face or label visible from above. Use dividers to prevent rolling and leave enough space to lift a roll without disturbing its neighbors. If the drawer is deep, use a removable tray inside it so you can bring the entire group to your work surface.
Troubleshooting: if rolls migrate into a pile, the compartments are too wide or the drawer is too full. Narrow the sections, reduce the active collection, or arrange two layers only when the top layer can be removed easily. Avoid stacking several rows high if you regularly forget what is underneath.
Clear boxes and shallow trays
Clear lidded boxes work well for protecting tapes from dust while preserving a quick visual scan. Choose a box whose internal width fits a row of rolls without forcing them together. A shallow open tray is faster for daily use, especially when you can line the rolls up by color or theme. Keep the tray on a shelf, cart, or the back corner of the desk rather than directly under your writing hand.
If a tray slides when you pull a roll, add a thin non-slip liner or move it to a more stable surface. If you cannot see the designs because the rolls are stacked, split them into two low rows or store them upright in a small compartment box. The goal is not maximum capacity; it is a clear first glance.
Repurposed organizers and pencil cases
A small stationery organizer, shallow craft box, or zip pencil case can hold a travel-sized selection. The Stacked Books Cute Aesthetic Pencil Case is listed as an 8 x 5 inch canvas zipper pouch, so it can serve as a portable option for a project kit, provided the opening gives you enough visibility and the contents are not overfilled. Keep only the tapes needed for that project inside it; a portable case is less useful when every roll is packed in.
For a quick decision, choose a case when you craft in more than one room or carry supplies to a class or meetup. Choose a drawer or open tray when you need to compare many designs at once. Check the closure periodically: if it strains, move part of the collection to a second container rather than compressing the rolls.
Turn vertical space into a useful display
When desk and drawer space are limited, look upward. A narrow wall shelf, pegboard cup, or tiered desktop stand can keep rolls off the work surface. Store rolls on a horizontal dowel or compatible rack only if the roll openings fit securely and you can remove one without unloading the whole row. For a rental or delicate surface, prefer freestanding solutions or removable mounting methods appropriate for the wall; test any adhesive or hardware on an inconspicuous area first.
A vertical display is best for tapes you use often or want to see while planning a page. Arrange them in a gradient, by theme, or by current project. Keep the display away from direct sunlight, heat, and damp areas when possible, since prolonged exposure can affect paper goods and make the craft corner less comfortable. If the display gathers dust, move less-used rolls into a covered box and leave only a curated selection out.
You can build a simple “library” with narrow compartments: one compartment per color family, one for decorative metallic or special-effect designs, and one for plain or versatile patterns. Label the compartments with removable tags. If your categories keep changing, use broad labels such as “warm,” “cool,” “neutral,” and “seasonal” rather than permanent detailed labels.
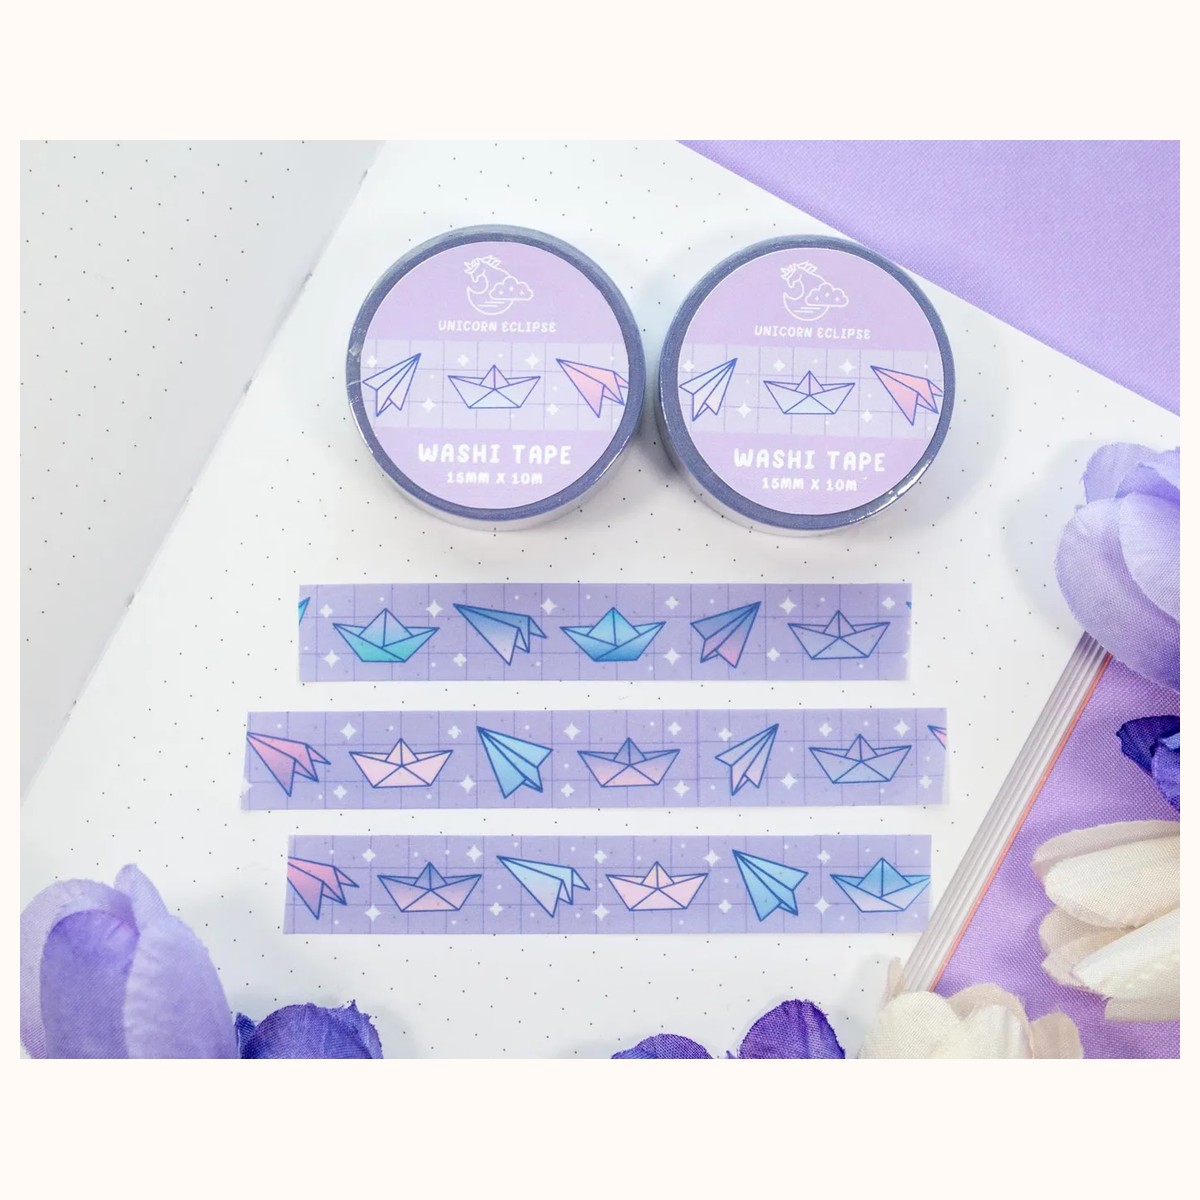
For a real collection example, the Washi Tape collection includes designs such as Paper Planes and Boats Washi Tape, which is described as one 15 mm-wide, 10 m-long roll. A roll with those dimensions can fit a compact row or compartment, but measure your chosen organizer rather than assuming every holder will match. If a roll feels loose, use a divider; if it is too tight, choose a wider compartment and avoid forcing it in.
Build a system that stays tidy during real projects
Storage succeeds when returning supplies is easier than leaving them out. Keep a small empty dish or “return spot” beside your workspace. During a project, place used rolls there instead of scattering them across the desk. When you finish, sort the dish back into the main organizer in one pass. This is especially useful when switching between a planner page, a card, and gift wrap in the same session.
Use a simple checkout rule for projects: select a small group before you start, photograph or note the group if the project will last several days, and return everything when the project is complete. A color swatch card made from scrap paper can help you remember which rolls belong together without opening every box. For seasonal work, label a small project pouch with the occasion and put it away when finished.
Protect edges and adhesive surfaces
Handle rolls by the outer edges, and keep loose tape ends from sticking to neighboring rolls. If the end disappears, do not dig into the patterned surface with a sharp tool. Rotate the roll slowly until you find the edge, then fold a tiny tab back on itself for easier future use. Keep paper tape away from spills and store it in a dry indoor area. If a roll becomes dusty, wipe the outside of its container rather than wetting the tape.
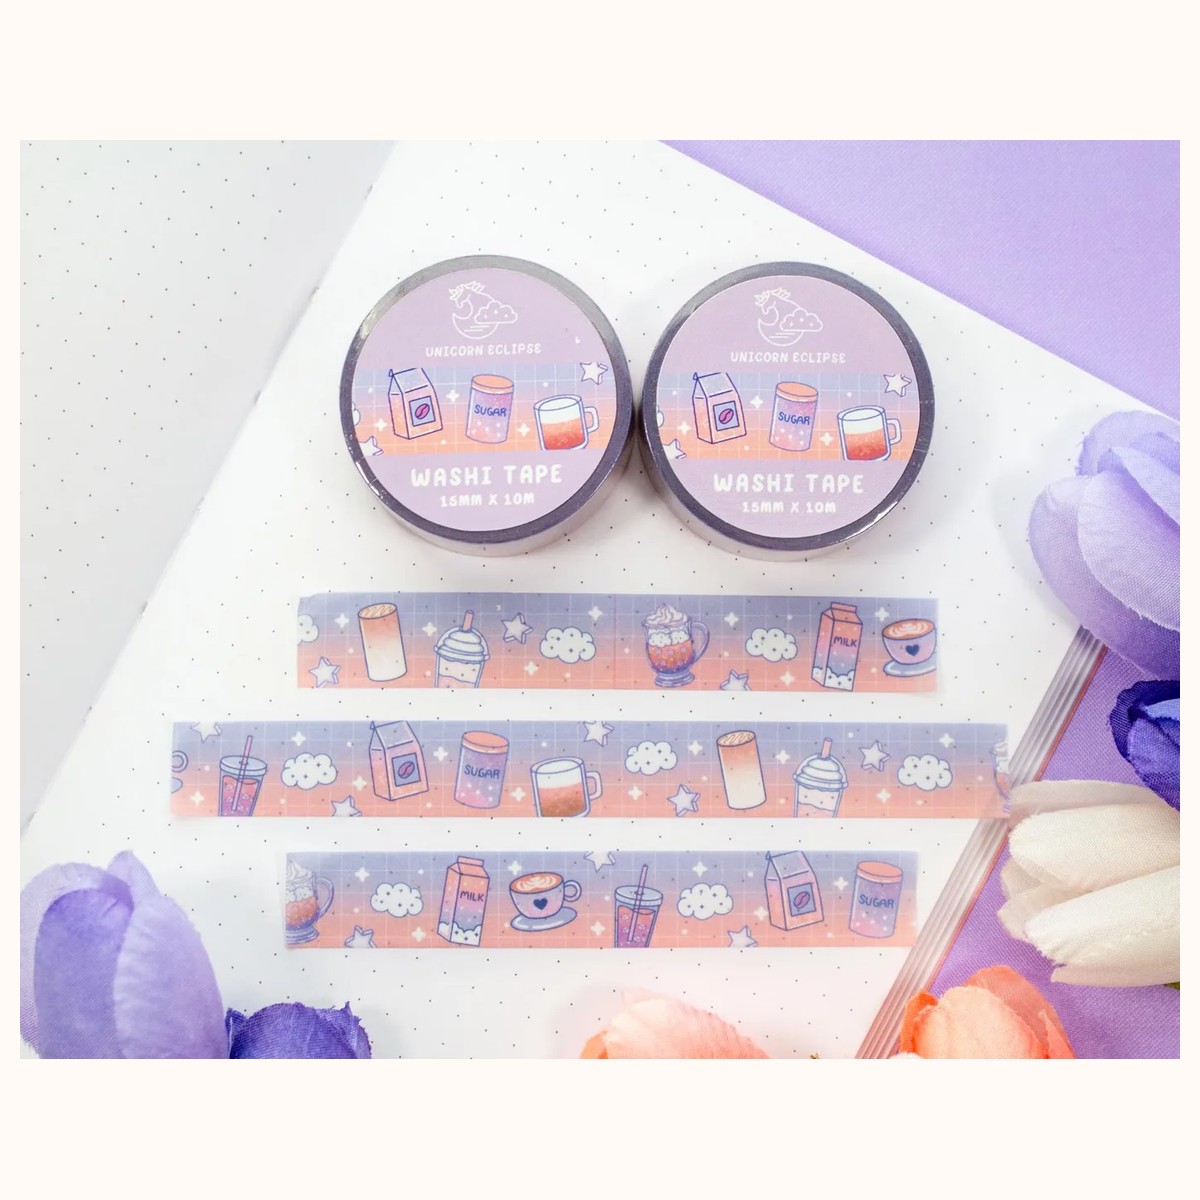
Washi tape is often chosen for paper projects because it can be repositioned more easily than many permanent adhesives, but performance can vary by surface, pressure, and time. Test a small piece first when decorating a valuable page, painted object, or delicate paper. The Coffee Shop Kawaii Aesthetic Washi Tape is described as low-tack and removable, yet a small test remains sensible for any particular project surface.
Troubleshoot the most common storage failures
If you forget what you own, switch from opaque storage to clear boxes, front-facing rows, or a simple inventory photo. If you buy duplicates, keep a short note on your phone or a small list inside the organizer. If your shelf looks cluttered, display fewer rolls and rotate them monthly. If tape ends unravel, separate rolls with snug dividers and return each end flat after use.
Review the system once a month. Remove empty cores, move rarely used designs to the archive, and adjust categories that no longer reflect your habits. When your collection grows beyond the available space, set a physical limit: one tray, one drawer, or one shelf. A limit turns storage into a manageable creative boundary rather than an ongoing hunt for more containers.
For product details, current catalog information, or questions about an item, visit the About page or Contact page before making a purchase. That gives you a direct place to verify details that may change.
Related reading: How to Choose Stickers for Journals and Planners · Best Stickers for Scrapbooking: A Creative Guide · 2026 Stationery Trends: Color, Texture, and Joy