Learning how to remove vinyl stickers is mostly a matter of patience, surface awareness, and using the least aggressive method first. A sticker that lifts easily from a water bottle may behave very differently on painted furniture, a laptop, a window, or a paper notebook. The goal is not simply to pull the design away; it is to remove the vinyl and adhesive while leaving the surface underneath clean and intact.
This guide covers a cautious process for common household and stationery surfaces. It is useful when you are changing a laptop decoration, refreshing a water bottle, taking a seasonal window decal down, or correcting a sticker placed slightly off-center. Always test a hidden area first, especially on painted, coated, finished, antique, or valuable items. If the surface is delicate or has a manufacturer’s care label, follow that guidance instead.
Before You Peel: Identify the Surface and Sticker
Start by looking at both sides of the problem: what the sticker is made from and what it is attached to. A small matte vinyl design on a smooth notebook cover is usually easier to handle than a large, sun-warmed decal on a painted wall. Waterproof or weather-resistant stickers can also have adhesive that remains tenacious after exposure to moisture, so do not assume water alone will release them.
Check the surface for these characteristics:
- Glass or glazed ceramic: Usually smooth and non-porous, but it can scratch if you use a gritty cleaner or metal blade carelessly.
- Hard plastic: Common on bottles, storage bins, cases, and appliances. Some plastics become cloudy or tacky when exposed to strong solvents.
- Metal: Often forgiving, though painted or powder-coated metal can still mark or lose finish.
- Painted wood or walls: The greatest risk is lifting paint or pulling up a topcoat along with the adhesive.
- Paper, cardstock, and book covers: Moisture and rubbing can wrinkle, discolor, or remove the printed surface.
- Screens and coated electronics: Heat, liquid, and scraping can damage coatings, so use a very dry, gentle approach.
Gather a plastic card or plastic scraper, a soft microfiber cloth, mild dish soap, warm water, and a hair dryer with a low or warm—not hot—setting. Cotton swabs help with small residue patches. Avoid starting with a razor, abrasive sponge, nail polish remover, or strong degreaser. Those may work on one robust surface but create a larger repair on another.
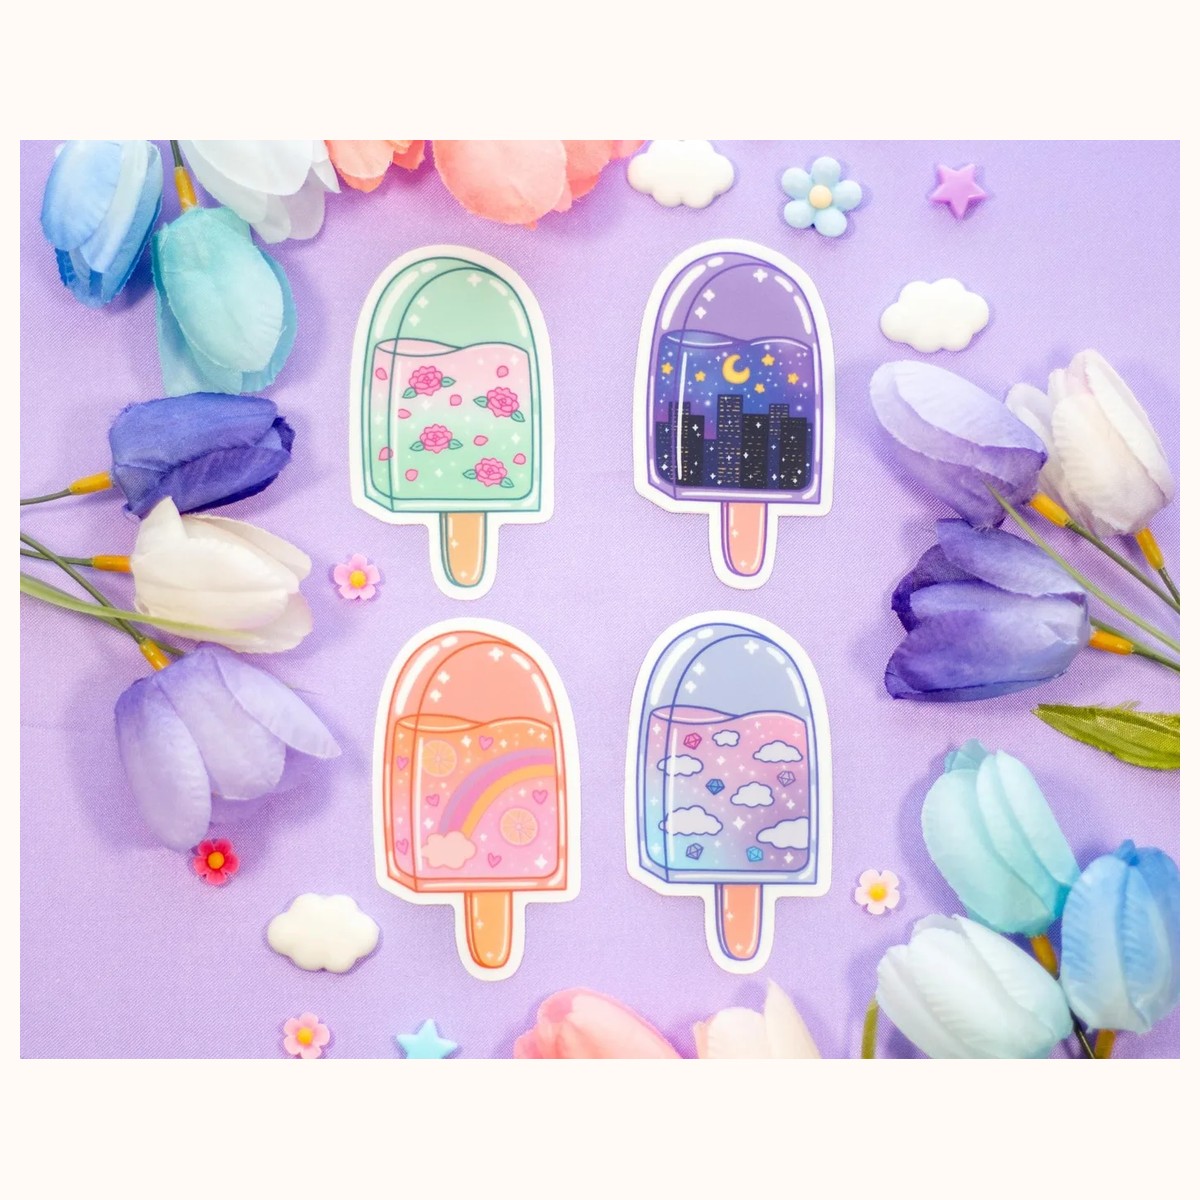
For a real product example, the Popsicle Cute Aesthetic Vinyl Stickers are described as vinyl stickers for everyday items such as laptops and water bottles. If you are removing a similar sticker from one of those smooth surfaces, the steps below are a sensible starting point. Browse the wider stickers collection when you want to compare designs before replacing an old decoration.
The Gentle Removal Method, Step by Step
1. Clean around the sticker
Dust and grit can act like sandpaper when you rub. Wipe the surrounding area with a barely damp microfiber cloth, then dry it. Do not soak paper, unsealed wood, seams, ports, or openings. Cleaning first also helps you see whether a mark is adhesive or simply dirt trapped around the sticker.
2. Warm the adhesive gradually
Use a hair dryer on a low or warm setting for about 10 to 20 seconds, moving it continuously rather than holding it in one spot. You are trying to make the adhesive more flexible, not heat the item through. Touch the surface with a fingertip; if it feels uncomfortably hot, stop and let it cool. Skip this step on heat-sensitive plastics, waxed finishes, delicate paper, and electronics where warm air could enter openings.
Sunlight can warm a window decal, but direct sun is less controllable. If you use it, work when the glass is comfortably warm and never leave a valuable item unattended in heat.
3. Lift a corner without digging
Pick a corner or edge and use a fingernail, a piece of low-tack tape folded into a tab, or a plastic card with a rounded edge. Keep the tool nearly parallel to the surface. The objective is to separate the sticker at a shallow angle, not gouge underneath it.
If the vinyl starts to stretch, tears, or leaves its printed layer behind, stop pulling upward. Warm it briefly again and change to a slower, lower-angle pull. Pulling steadily back over itself—rather than straight up—usually puts less stress on the surface.
4. Peel slowly and support the surface
Hold the exposed surface with your free hand, especially on a thin notebook cover, flexible plastic, or painted panel. Peel a few centimeters at a time. If the sticker is large, have a second person support the item or cut the lifted vinyl into manageable sections with scissors away from the surface.
Do not yank. A fast pull can remove a top layer, bend a flexible item, or leave a wide strip of adhesive behind. For a window decal that is meant to be repositionable, begin at a corner and keep the decal flat as it comes away so it does not fold onto itself.
5. Treat residue only after the vinyl is gone
First try the dry method: roll the adhesive gently with a clean fingertip or lift it with the edge of a plastic card. For glass, glazed ceramic, and many hard plastics, place a small amount of warm water with a drop of dish soap on a cloth, hold it against the residue briefly, and wipe in one direction.
Use a tiny amount of isopropyl alcohol only if the surface owner’s instructions allow it and a hidden-spot test shows no whitening, dullness, or color transfer. Apply it to the cloth—not directly onto the item—and keep it away from screen openings, painted graphics, leather, and unfinished wood. Stop if the finish changes. Wash the area with clean water where appropriate, then dry it fully.
Surface-Specific Choices and Troubleshooting
Glass, mirrors, and glazed ceramic
Warm the sticker, peel slowly, and use a plastic scraper for remaining adhesive. On plain, uncoated glass, a purpose-made glass scraper may be suitable when held at a shallow angle with the surface wet, but do not use that approach on mirrors with vulnerable edges, printed glass, tinted films, or ceramic glaze unless the care instructions permit it. If a window decal has been exposed to dust, wetting the outside can reduce rubbing while you work.
If the sticker leaves a cloudy patch: determine whether it is residue by wiping a small area with soapy water. If the cloudiness remains, it may be a coating or surface change rather than adhesive; stop escalating chemicals and seek the item maker’s advice.
Plastic bottles, cases, and appliances
Begin dry. Heat can help, but keep it mild because thin plastic may warp and glossy plastic may develop a visible sheen. Peel across the surface, then use soapy water on a cloth. Avoid acetone and aggressive solvent blends unless the plastic manufacturer specifically approves them.
If the residue feels oily or spreads: you may be dissolving it faster than you can remove it. Stop, wipe with a clean section of cloth, and return to small, dry rolling motions. A second light pass is safer than flooding the area with cleaner.
Metal and painted metal
Uncoated metal generally tolerates a little more rubbing, but painted lockers, appliances, and signs should be treated like painted surfaces. Use warm air sparingly, a plastic card, and mild soap first. Dry thoroughly to prevent moisture collecting around seams or edges.
If a dark outline remains: compare it with the surrounding finish after cleaning. It might be shadowing, sun fading, or a difference in gloss under the old sticker—not leftover glue. Do not keep scrubbing in an attempt to make two finishes identical.
Painted walls and finished wood
Avoid soaking, high heat, and strong solvents. Warm the sticker only slightly, then peel back over itself while holding the paint or finish down with your other hand. If the sticker resists, stop and try another short, low-heat session rather than increasing force.
For residue, use a nearly dry cloth and mild soapy water only after testing an inconspicuous spot. On unfinished wood, paper towel, matte paint, or porous surfaces, adhesive may have penetrated the fibers; aggressive rubbing can make the mark larger. If the sticker is on rental property, valuable furniture, or a freshly painted wall, ask the owner or finish specialist before continuing.
Paper, book covers, and electronics
Paper is where prevention matters most. Try lifting an edge at room temperature and pull very slowly. Do not introduce water unless the paper or cover is specifically washable. If the sticker tears, remove only what releases easily; repeated scraping can remove ink or a glossy laminate.
For laptops, tablets, and other electronics, shut the device down, disconnect it, and keep liquid away from vents, ports, keyboards, and screens. Use a dry fingernail or plastic card. A slightly warm cloth can be used on a hard exterior only if the manufacturer’s instructions allow it, but never spray cleaner onto the device.
When to Stop, Clean Up, and Prevent Future Trouble
Stop immediately if paint lifts, a coating turns cloudy, the surface becomes sticky beyond the original area, a screen shows a color change, or the item starts to flex or heat up. At that point, additional force is more likely to cause damage than improve the result. Photograph the condition, keep the removed sticker if it helps identify the adhesive, and check the manufacturer’s care instructions or contact Farouk Book Store for product-related guidance when the item came from the store.
Once the sticker and residue are gone, wipe with the mildest cleaner suitable for the surface and dry completely. Wash your hands after using any cleaning product. Dispose of used cloths or cotton swabs if they contain solvent, and keep cleaning liquids away from children and pets.
For future decorating, place stickers only on clean, dry areas and avoid seams, textured coatings, vents, and frequently handled edges. If you may want to change the design later, consider a smooth, washable object and keep the original backing sheet so a sticker can be stored temporarily. A removable window option such as the Tulip Dreams Suncatcher Sticker is described as removable and replaceable, but even a product with that description should be peeled slowly and checked against the surface before full application. When in doubt, test a small corner first; careful placement is the easiest way to make future removal uneventful.
Related reading: How to Choose Stickers for Journals and Planners · Vinyl vs. Paper Stickers: A Complete Guide · Best Stickers for Scrapbooking: A Creative Guide