Window suncatchers can make a plain pane feel bright and personal, but seasonal decorating, window cleaning, a move, or a change in sunlight may mean taking them down. If you want to remove and store window suncatchers so they are ready for another season, the key is to avoid rushing, creasing the decal, or trapping dust against its surface. A few minutes of preparation can help a reusable window decoration stay flat, clean, and easy to identify later.
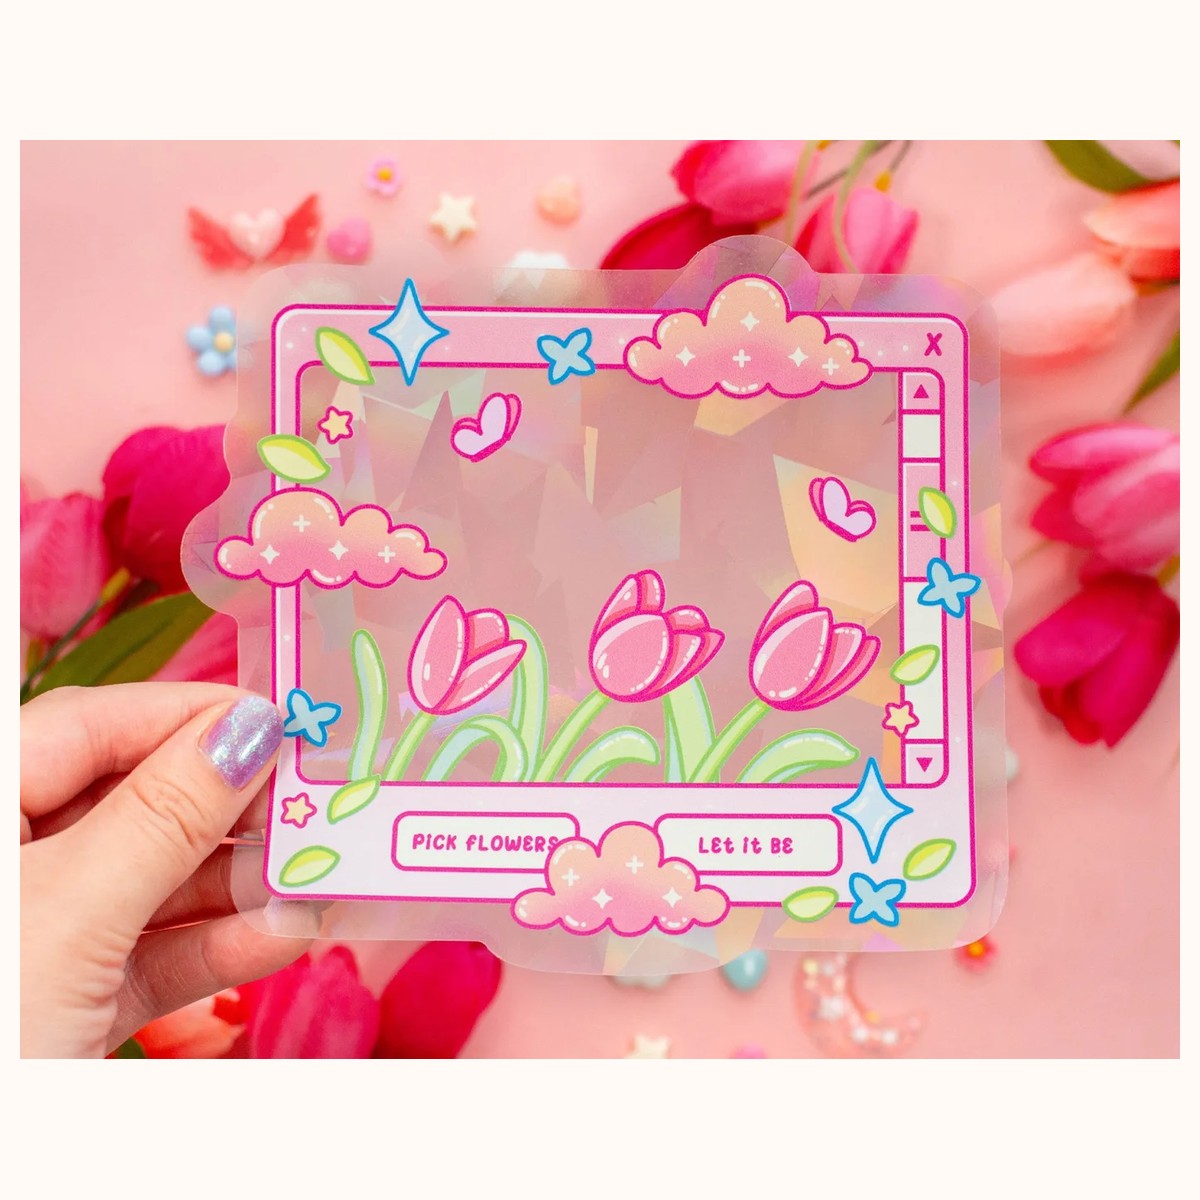
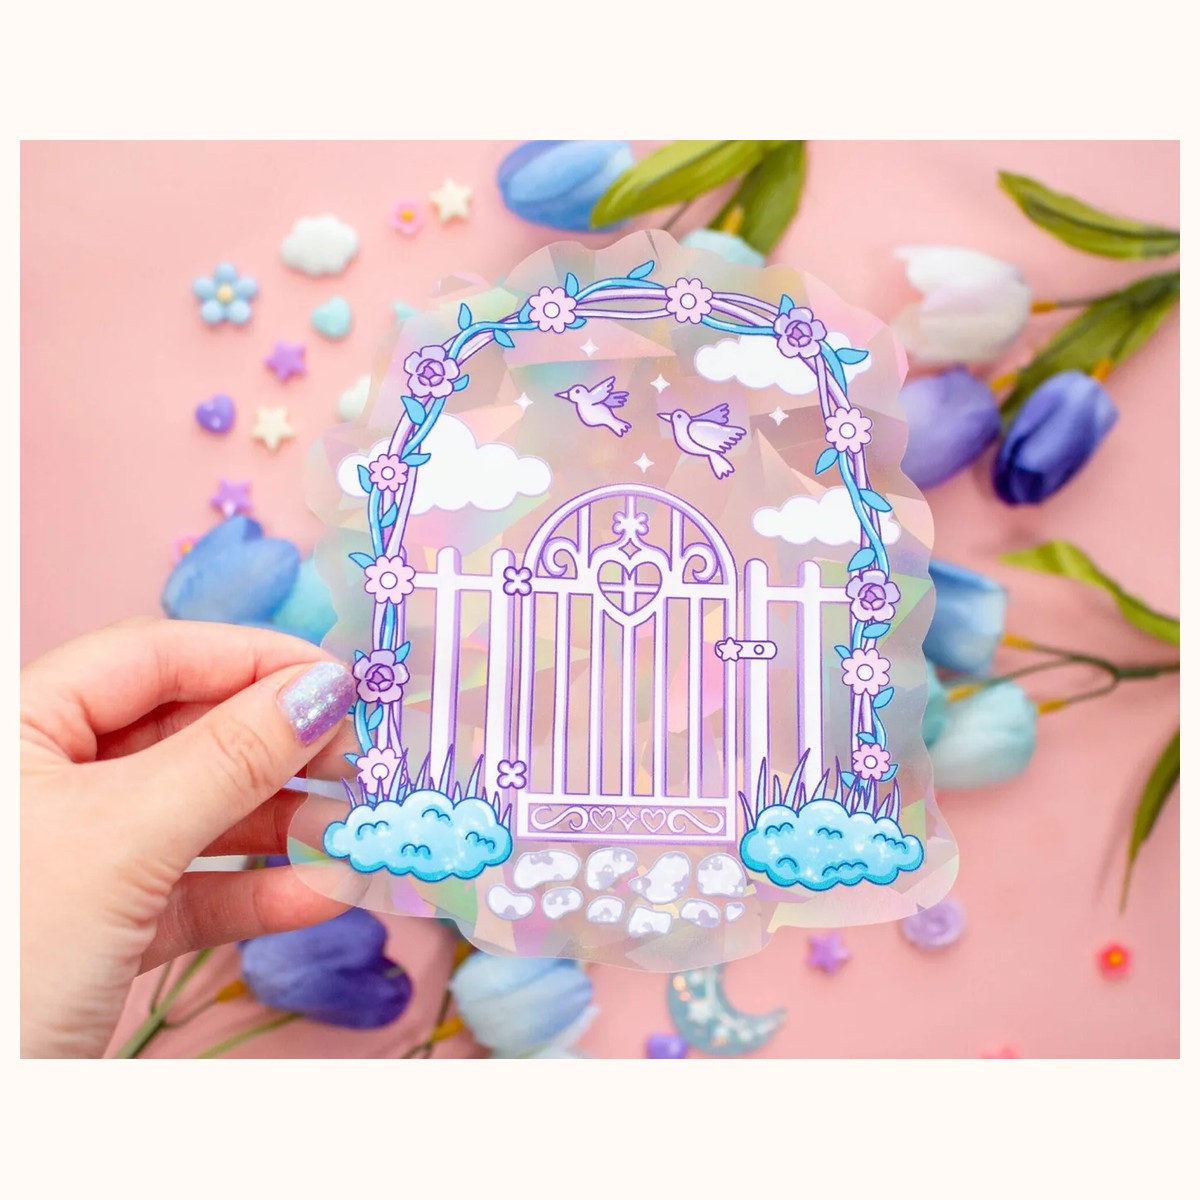
This guide focuses on removable window decals such as vinyl rainbow-maker suncatchers. Adhesives and finishes can differ, so treat the product listing as the final reference and use a small, gentle approach when you are unsure. In the Farouk Book Store suncatchers collection, for example, both the Tulip Dreams Suncatcher Sticker and the Secret Garden Gate Suncatcher Sticker are described as removable and replaceable water-resistant vinyl decals.
Before you remove a window suncatcher
Choose the right moment rather than pulling at the decal as soon as you decide to take it down. A window that is cool, clean, and easy to reach is usually more comfortable to work with. If the glass is hot from strong direct sun, wait until the pane has cooled. This is a practical precaution: heat can make surfaces and adhesive feel different, while working in glare makes it harder to see an edge.
Gather a few simple supplies:
- A clean, soft microfiber cloth or other lint-free cloth.
- A small piece of removable tape for marking orientation, if needed.
- A rigid folder, document sleeve, or two clean sheets of smooth card.
- A pencil or label for the design name and the window it came from.
- A clean zip pouch or envelope large enough for the flat package.
Do not begin with a razor, knife, abrasive sponge, or strong solvent. Those tools may scratch glass, mark a frame, or affect the printed surface. If the decal is on a painted or delicate frame rather than glass, pause and check the product guidance before applying any moisture or pressure.
Inspect the edges first. Look for a corner that is already slightly lifted, a cut line, or a section away from the most decorative part of the design. If there is no obvious starting point, place a small piece of low-tack removable tape over an edge and use the tape as a pull tab. Test the tab gently; never yank it away from the glass.
It also helps to take a quick photo before removal. Photograph the full window and note whether the design was positioned upright, upside down, or beside another decal. This is useful when a floral or symmetrical design has more than one plausible orientation. For a design like Tulip Dreams, you may want to record which way the tulip motif faced and which corner received the strongest light.
How to remove the decal without creasing it
Start at the edge and work slowly. Hold the glass or frame with one hand for stability, then lift only a small section of the decal with a fingernail or the edge of a clean plastic card. Keep your fingernail shallow and avoid scraping across the printed face. The goal is to separate the decal from the pane, not to dig underneath it.
Once a corner is free, pull the decal back over itself at a low angle, moving parallel to the glass rather than pulling straight outward. Use a slow, steady motion and stop whenever resistance increases. With a larger design, support the released portion with your other hand so its own weight does not make it fold onto the adhesive side.
If the decal resists:
1. Stop pulling and check whether you are lifting the glass-facing layer or a small fragment from the design. 2. Try a different edge, preferably one with less printed detail. 3. Let a barely damp cloth rest on the glass beside—not on—the decal for a moment, then dry the area and try again. Avoid soaking the adhesive or allowing liquid to run behind it. 4. If the decal still will not release, consult the product information or contact the store through its contact page before using a cleaner or heat.
A removable product should not require force. “Removable” does not mean every surface, temperature, age, or installation condition will behave identically. If the glass was dusty, the decal was pressed down repeatedly, or an edge has been exposed for a long time, proceed in smaller sections.
As the decal comes free, keep the adhesive side from touching the floor, a countertop, clothing, or your sleeve. Dust and fibers can become difficult to remove. If the design naturally curls, guide it into a loose roll with the decorative side outward only long enough to move it to a clean work surface. Do not make a tight tube and do not fold it in half.
Cleaning, flattening, and packing for storage
Place the removed suncatcher on a clean, dry, smooth surface and inspect both sides. If there is only a small speck of dust on the glass-facing side, lift it away with clean, dry fingers or a soft cloth used with almost no pressure. Do not scrub the rainbow-making or printed surface. Water-resistant vinyl may tolerate everyday moisture, but water resistance is not a promise that every cleaner, soak, or rubbing motion is safe for the finish.
If residue remains on the window, clean the glass separately after the decal is safely packed. Start with a soft cloth lightly dampened with water. For persistent residue, use a glass-cleaning method suitable for your window and frame, keeping product away from the stored decal. Never pour cleaner onto the decal to solve a problem on the pane.
Before packing, allow any touched surface to become fully dry. Moisture sealed in an envelope can make dust cling and may leave the piece harder to reposition. If the design is already flat and clean, preserve that shape. Sandwich it between two sheets of smooth, acid-free paper or clean, non-abrasive protective sheets, then place the sandwich in a rigid folder or document sleeve.
The most important storage decisions are flatness, pressure, and labeling:
- Flatness: Store the suncatcher flat whenever the size of the design and your storage space allow it.
- Pressure: Keep books, boxes, and heavy craft supplies off the package so the decal is not compressed or bent.
- Labeling: Write the product name, removal date, original window, and “keep flat” on the outer sleeve rather than on the decal or its protective surface.
For a small removable decal, a clean envelope inside a rigid folder can work. Choose an envelope that does not force the corners to curl. If you are storing several designs, give each one its own protective layer and label them individually. Do not stack adhesive sides together, even if the designs appear clean; a tiny bit of dust can make them cling.
Avoid storing suncatchers in a hot attic, damp basement, bathroom cabinet, or a place with repeated temperature swings. A cool, dry drawer or shelf away from direct sunlight is a better practical choice. Keep the package away from sharp tools, loose glitter, textured paper, and anything that can shed fibers. If children or pets can reach the storage area, use a closed container and keep the pieces supervised when they are being handled.
Reusing and troubleshooting stored suncatchers
When you are ready to display a stored suncatcher, open the package on a clean surface and inspect the edges before approaching the window. If the decal has acquired a crease, do not force it flat against the glass. A crease may remain visible or make the piece harder to reposition. Set it aside and check the product instructions or contact Farouk Book Store for guidance rather than experimenting with an iron, hair dryer, solvent, or heavy pressure.
Prepare the window before reuse. Remove dust and oily fingerprints with a suitable glass-cleaning method, then let the pane dry completely. Choose a location that receives the kind of light the design needs. The Secret Garden Gate Suncatcher Sticker listing recommends a clean window receiving direct sunlight for rainbow reflections; if your room’s sunlight has changed seasonally, the same decal may produce a different effect in a new position.
To reapply, handle the edges with clean, dry hands and align the design before pressing. Work from one side toward the other with light, even contact rather than repeatedly lifting and replacing the whole piece. If a bubble or wrinkle appears, pause and gently lift only the nearest edge if the product is intended to be repositionable. Do not use a sharp object to puncture a bubble.
Use this troubleshooting checklist:
- A corner will not stick: Check for dust, lint, moisture, or a window coating. Clean and dry the pane, then try once more without pressing harder.
- The decal attracts dust: Inspect the exposed adhesive side in bright light. Remove loose particles only if they lift easily; do not scrub or use a solvent.
- The rainbow effect looks faint: Recheck the angle and strength of direct sunlight, then clean the glass. The room’s season, weather, curtains, and nearby buildings can all change the visible reflection.
- The design is upside down: Refer to your removal photo and product image before pressing it down. For an illustrated design, orientation is part of the display, not a minor detail.
- The decal feels damaged after storage: Do not stretch, iron, heat, or laminate it. Keep the piece flat and seek product-specific advice.
A simple seasonal routine prevents most problems: photograph the placement, remove the decal slowly, protect the adhesive side from dust, store it flat and labeled, and clean the window separately. When you are uncertain about a surface, condition, or product-specific instruction, verify details on the suncatchers category page or use the contact page before proceeding.
Related reading: How to Choose Stickers for Journals and Planners · Vinyl vs. Paper Stickers: A Complete Guide · How to Build a Personalized Gift Bundle